How to create a shortcut/hotkey for the Safely remove hardware tray dialog on Windows
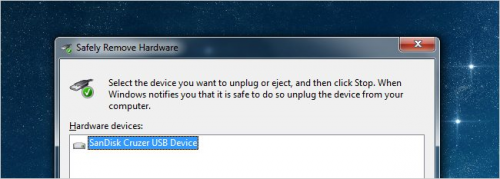
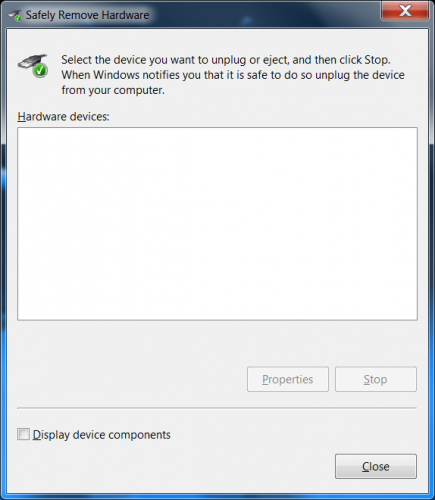
We covered why you need to Safely Remove a USB drive before. If you have to use removable USB devices very often, you're probably aggravated how difficult sometimes it is to activate the “safely remove hardware” icon that lives in the system tray. Many users report that the greatest problem is that the icon is so tiny that when you click on the system tray, you have to go through every icon on the list to find that small relevant button every time you need to switch the USB driver on or off. The good news is you can just create a shortcut to bring up the dialogue and have it located on your desktop at all times.
The process is very easy, and the next time, instead of trying to click through the tiny icons in the system tray, you will just click on the desktop shortcut.
Create a Shortcut to the “Safely Remove Hardware” Dialog
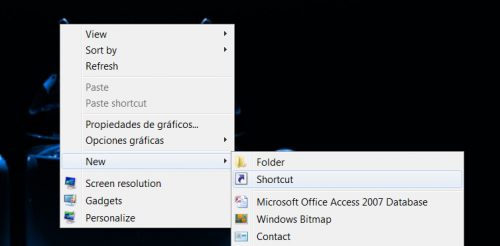
You have to be on your desktop and right click anywhere on it to select New -> Shortcut.
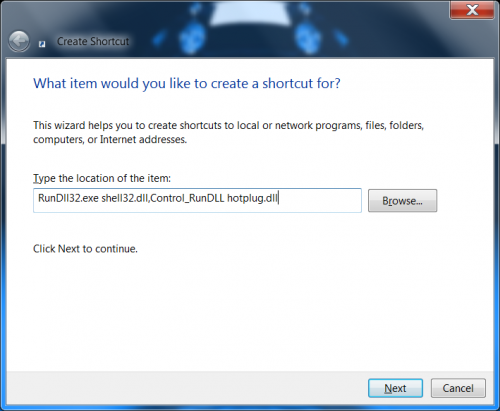
You will see the location box, and place the following into it:
RunDll32.exe shell32.dll,Control_RunDLL hotplug.dll
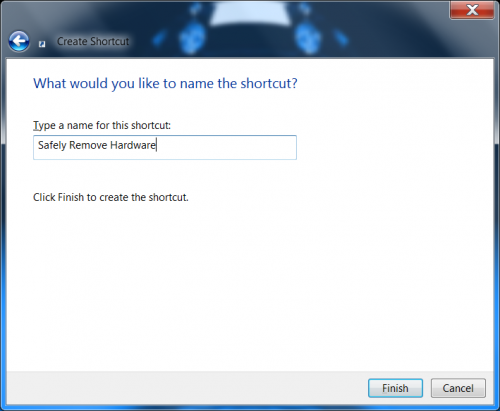
Give your shortcut a name.
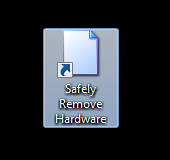
Voil`a! You have created a shortcut that will launch the “Safely Remove Hardware” dialog window.
Assign a Shortcut Key for Your “Safely Remove Hardware” Dialog Window
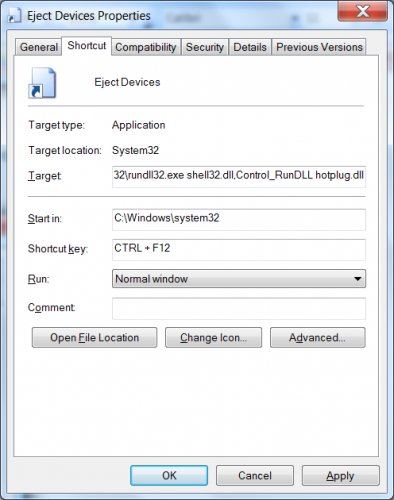
If you want to go as far as to create a shortcut key to this dialog window, you should right-click on the icon, open the Properties dialog window and select the Shortcut tab.
Add a shortcut key and close the dialog window. As long as you have the shortcut located on your desktop, you will never have to restart anything for the hotkey to function properly. Additionally, you can move the shortcut to a different folder, for instance, your quick launch bar.

