How to Manage your Android Device from the Internet with AirDroid
 Your smartphone or tablet is a complete entertainment center for music, movies, personal videos and photos. But managing your Android device through the touch screen has its limits as well.
In this article we’ll introduce you to AirDroid, a free app that allows you to manage your Android device from your computer via the internet. You’ll find out how you can use AirDroid to manage your music, photos, videos, and SMS messages with AirDroid.
If, on the other hand, you would like to run Android on your computer using an emulator, read the article below:
Alternatively, if you want to install Android in your computer, check this article:
- AirDroid: Complete management of your Android device via internet
- Installing AirDroid in your Android device
- Managing your Android device via Browser with AirDroid
- Managing your Android device via the Windows app
- Differences with AirDroid Premium
AirDroid: Complete management of your Android device via internet
AirDroid was created in 2011 by Sand Studio, a production team that belongs to the Chinese mobile apps developer Tongbu Networks.
According to Sand Studio, the idea for an app that would allow you to control your Android device emerged when the team became tired of looking for USB cables and installing drivers for connecting devices to the computer.
The first version of AirDroid was released in November 2011. Currently, the application has been downloaded by more than 20 million users and has an average rating of 4.5/5 stars with over 456,000 reviews.
Installing AirDroid in your Android device
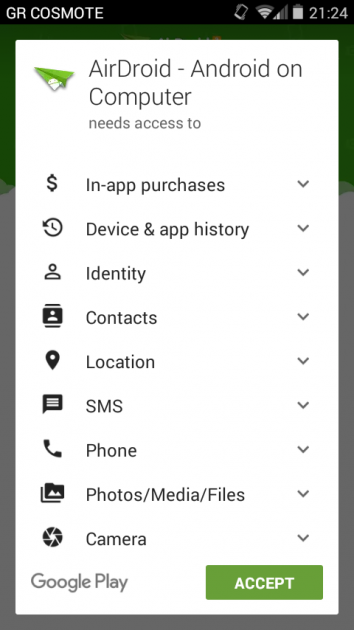
To install AirDroid in your smartphone or tablet, simply visit the app’s website in Google Play and install it normally. The app requires several permissions, which is normal though, since it will manage your device completely.
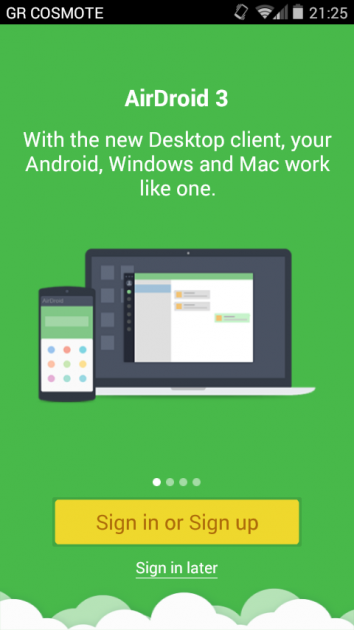
After you install and run AirDroid in your device, click on the Sign in or Sign up button.
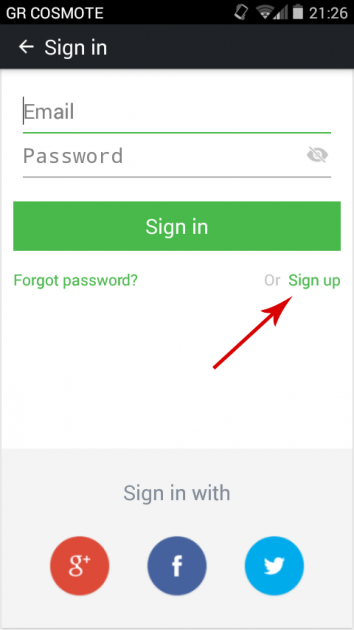
In the next screen, tap on the Sign up link to register for a new account.
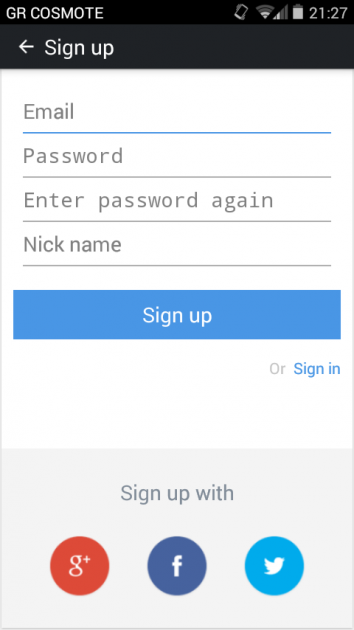
You can either connect with your Google, Facebook or Twitter account, or you can register with your own email address and a password.
After registering, a confirmation email will be sent to the email address that you used, so verify it by clicking on the link that’s inside.
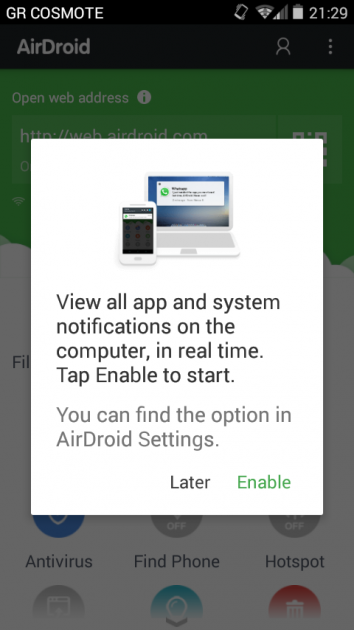
Having created the account, you can now view your device’s notifications in your computer with AirDroid. To do that, simply tap on Enable on the message that appears when you open the app.
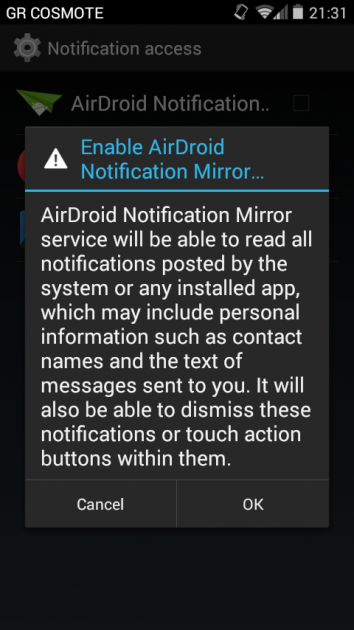
In the next screen, enable the AirDroid Notification Mirror service and tap on OK.
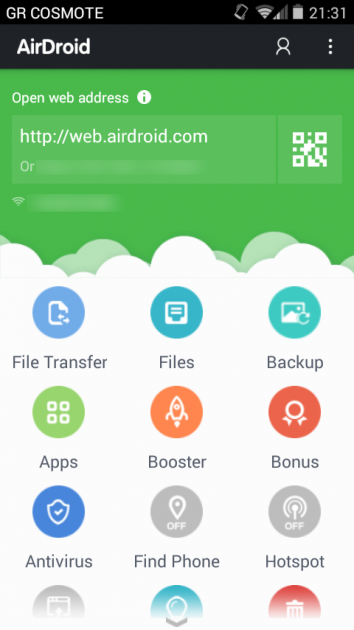
After that, AirDroid is now fully installed in your device and is ready to be managed over the internet.
There’s no need to keep the app open now. You can exit it, and if the device is connected to the internet, AirDroid will be launched whenever you need it.
Managing your Android device via browser with AirDroid
Now that AirDroid is installed in your device, there are two methods that you can manage it from your computer. The first method is via browser, and the second method is by installing the AirDroid application for Windows or OS X.
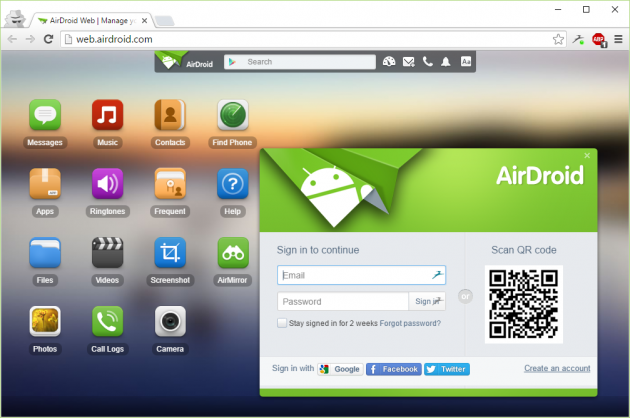
Upon visiting AirDroid’s web app, you will be asked to login with the method that you registered earlier- using an email address/password, or by using a social network account.
Once you login, you will be prompted to wait for a couple of seconds until a connection with your device has been established. Then, you will be presented with the app’s main screen for managing your Android device.
If the smartphone is connected to the internet using mobile data, then you will receive a message which suggests that you connect using a Wi-Fi connection so as to avoid the possibility of being charged by your carrier.
How to manage your Android device via browser
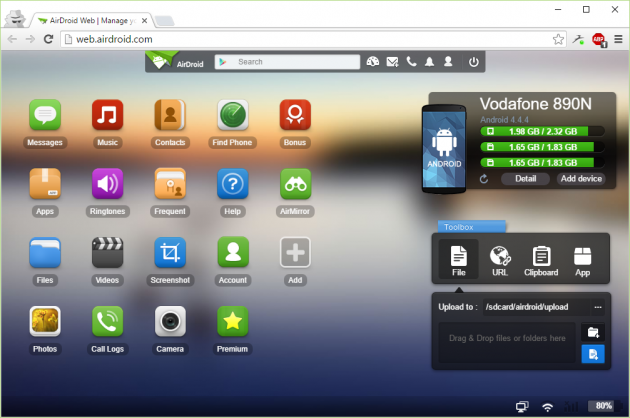
The interface of AirDroid’s web app is really clean and user-friendly. The most important features can be accessed from the icons located on the left side of the screen.
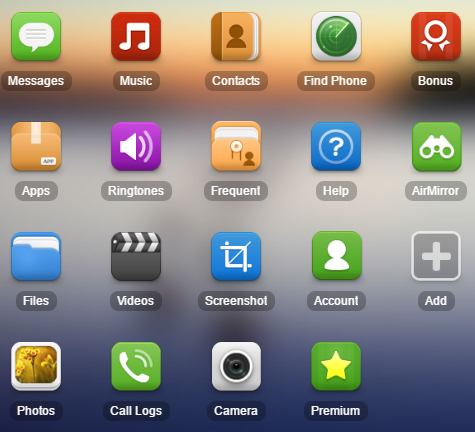
Below we’ll go through AirDroid’s most important features:
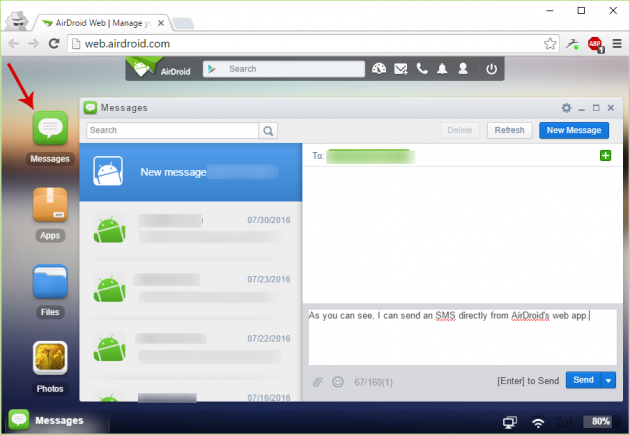
Reading and sending SMS messages
Through AirDroid’s environment you can easily manage your SMS messages. You can see your stored messages, and can also send new messages. This feature is invaluable for those who want to send SMS message by using a real keyboard instead of Android’s virtual keyboard.
Managing Sounds
If you want to change ringtone, delete a sound, or download it to your computer, the corresponding icon gives you the ability to do all these things.
Screenshots
If you want to capture screenshots of your device’s screen, just click on the Screen Capture icon. The first time you do that, you will need to confirm you action- check the Do not show again box to hide it from appearing again. Afterwards you will see exactly your device’s screen through AirDroid.
Note: This feature requires root.
Apps
One of the most important features is app management. By selecting the respective icon you will be shown which user apps and systems apps.
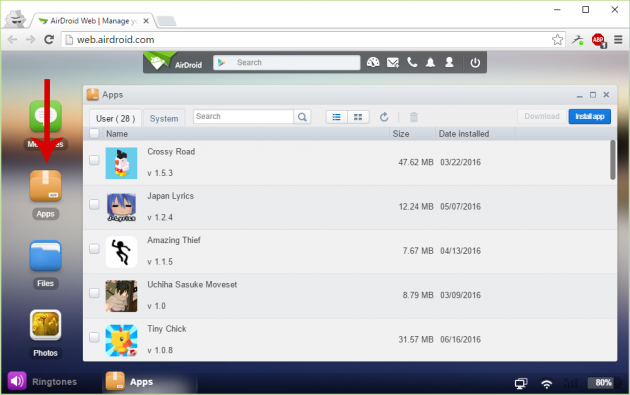
Installed apps can be uninstalled by enabling their checkbox and clicking on the trash bin icon. From the same window you can also install applications that have been downloaded as APK files.
Keep in mind that AirDroid does not give you the ability to run Android applications on the PC. In order to do that, check out this article.
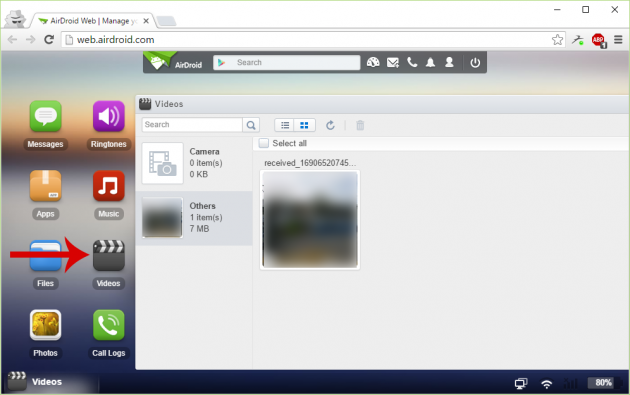
Videos
You can also see all videos that you recorded or downloaded.
Camera
From the Camera icon you can launch the camera app in your device, and have full control over it- you can even take photos.
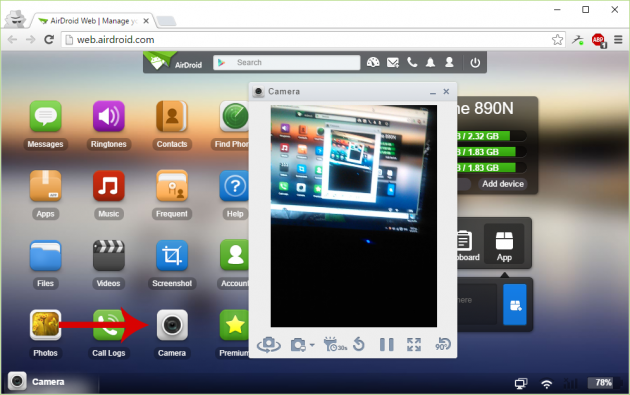
Note that while this function is in use, you cannot access the camera from the device.
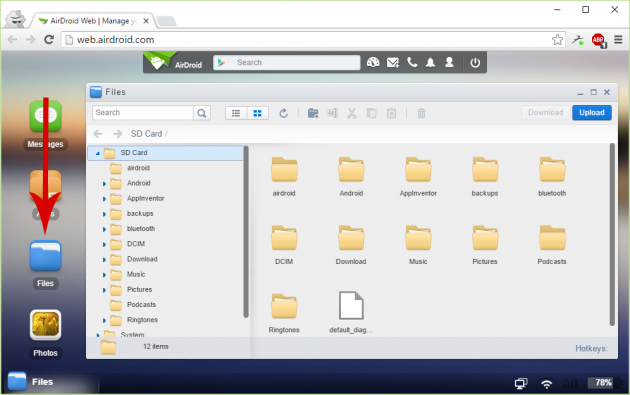
Files
Instead of connecting your device via USB to manage your files, AirDroid can give you full control over them.
Call Logs
You view a log of all incoming, outgoing and unanswered calls with detailed information about their time and date.
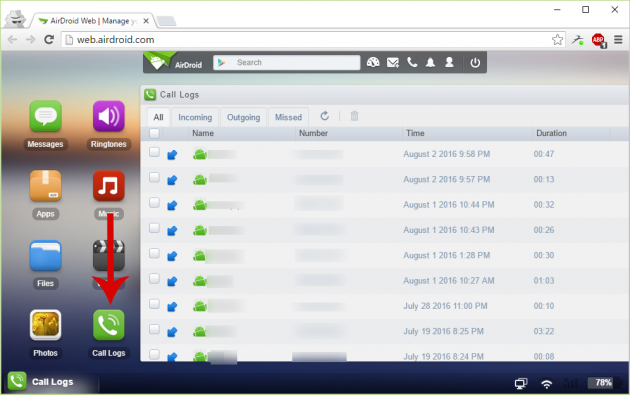
Find phone
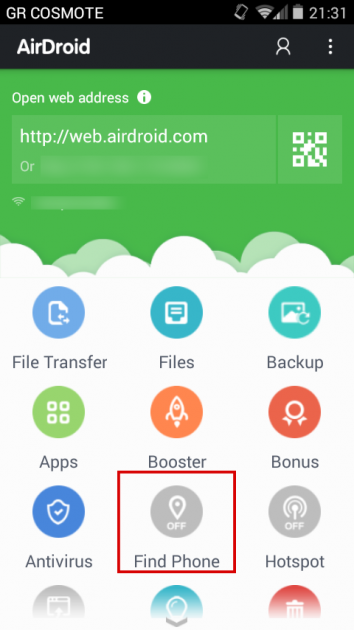
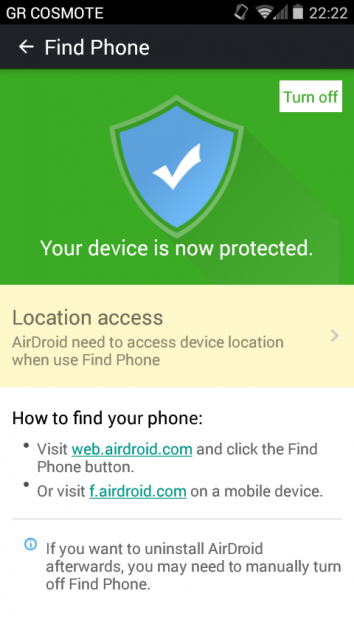
This feature is one of the most useful in AirDroid. To enable the “Find phone” feature, you must go through a special procedure first. So, open the AirDroid app in your device and tap on the Find phone icon.
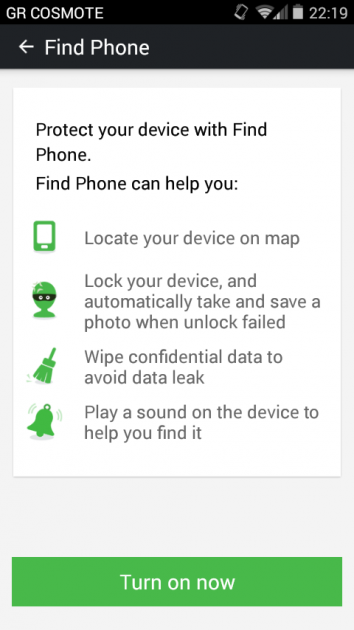
You will see a list of all what you can do when this feature is enabled. Tap on Turn on now to continue.
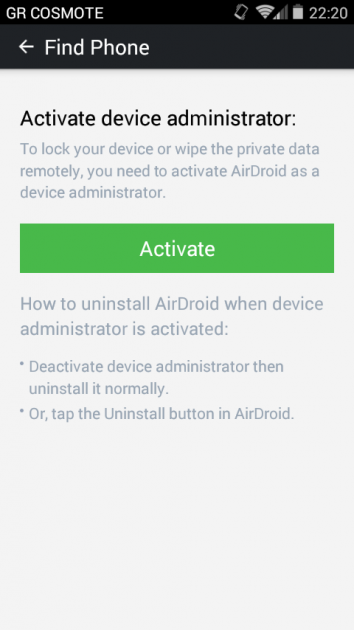
Next you need to give the AirDroid administrative rights on the device. So, tap on the Activate button in the next screen.
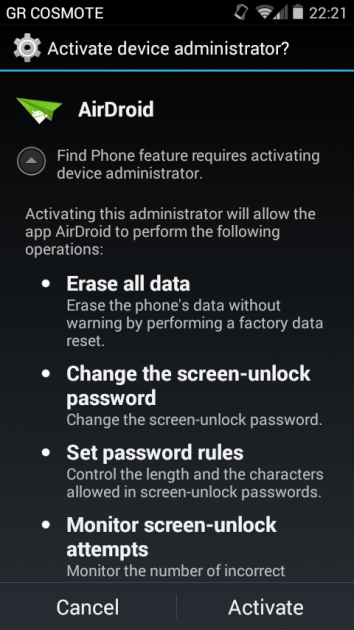
Tap on Activate once more.
Ok, that was it! The process is completed. It is important however to remember to disable this option first, if you decide to uninstall AirDroid in the future.
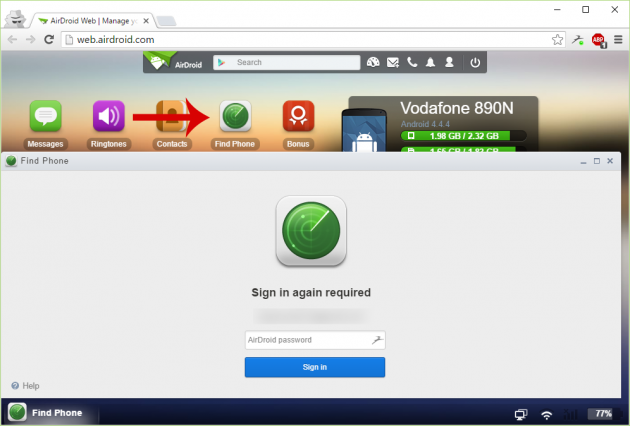
Now, you can use the Find phone feature on AirDroid from the browser. You will need to confirm your password to run this application.
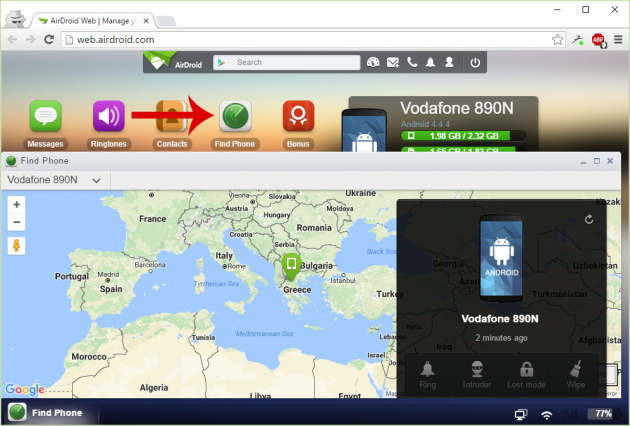
If the device’s GPS is on, the app will detect its location with a precision of a few meters.
In the right side of the app’s screen you can perform other actions in case of loss or theft, as they were described previously when you enabled this feature.
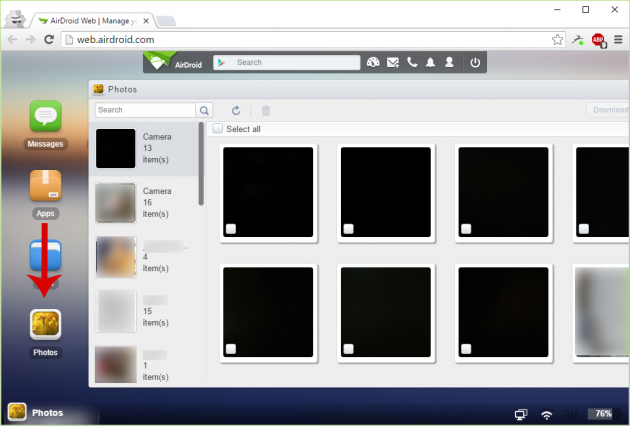
Photos
You can view, move or delete existing photos from your device.
Contacts
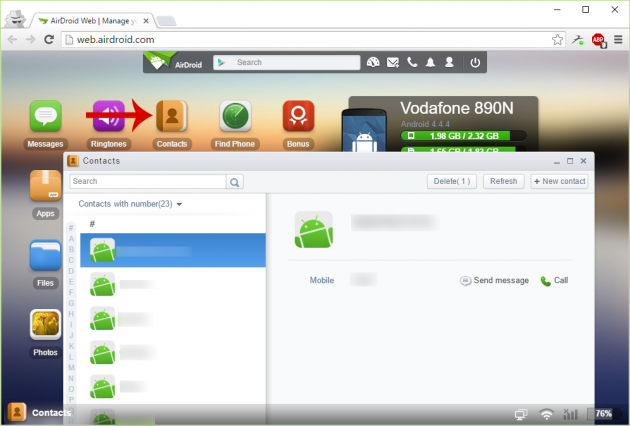
Whether you decide to delete several old contacts from your phone, or simply want to look for a certain contact’s phone number, you can do so from the Contacts icon.
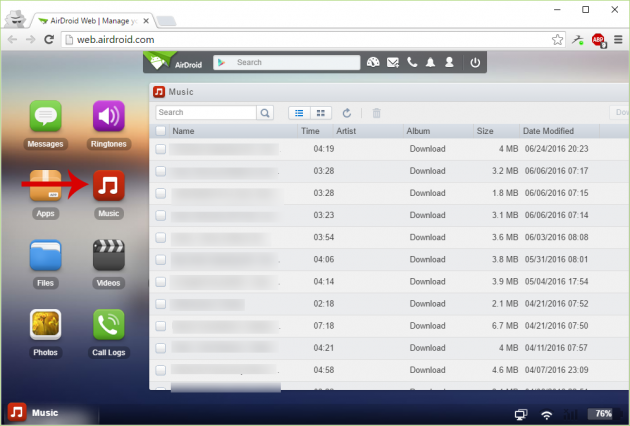
Music
From here, you can manage your music collection.
Copying data to the device
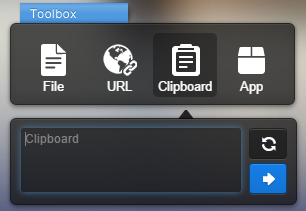
If you want to quickly send data to the device, you can use the Toolbox. It allows you to move files, send links, send a particular piece of text to the clipboard, or send an .apk file for installation.
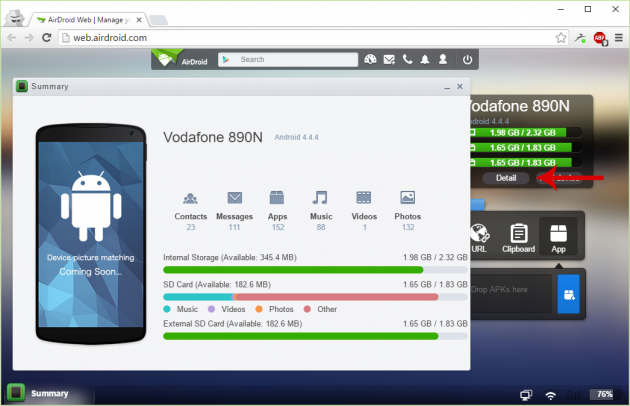
Checking storage space
If space in your device is getting full, a single click on the Detail button will analyze and display what kind of files consume the most space.
Add device
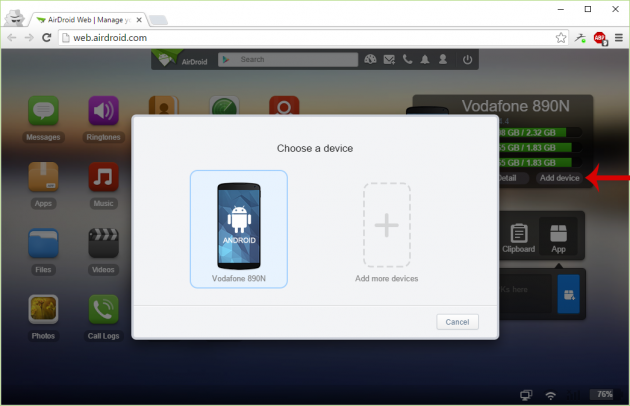
In the free version of AirDroid, you’re allowed to manage up to two devices. You can add a second device from the Add button.
Quick actions bar
From the bar at the top you can search for apps on Google Play, add widgets in AirDroid’s screen, send a message, make a call, and adjust various account options.

Managing your Android device via the Windows app
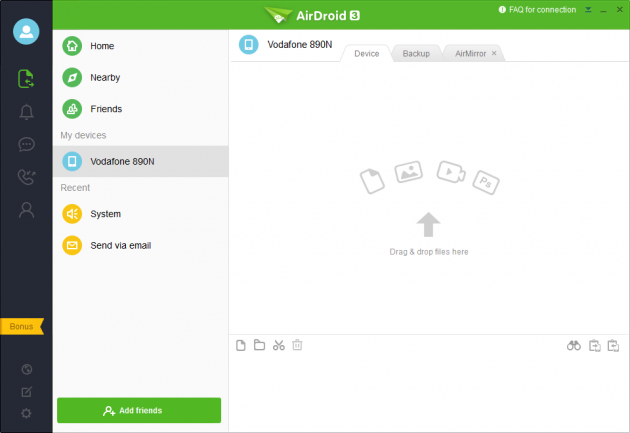
The AirDroid application for Windows doesn’t have the same functionality with the web app, but is more like a complementary application.
First, download the application from here and proceed to install it. The installation procedure is safe, but it will ask you to install an unwanted third-party program (McAfee WebAdvisor), so decline when you reach that step.
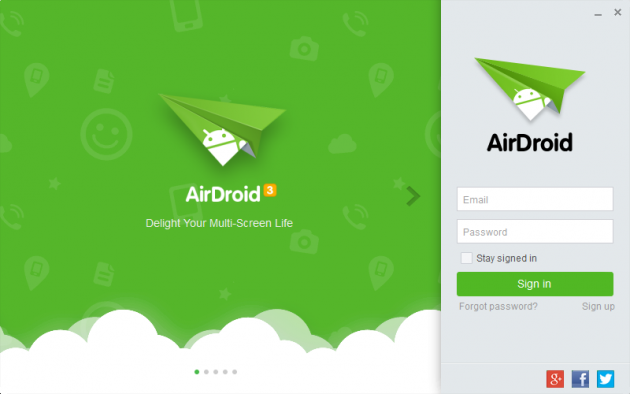
Once you open the app, you must fill in the details of your account which you used to register.
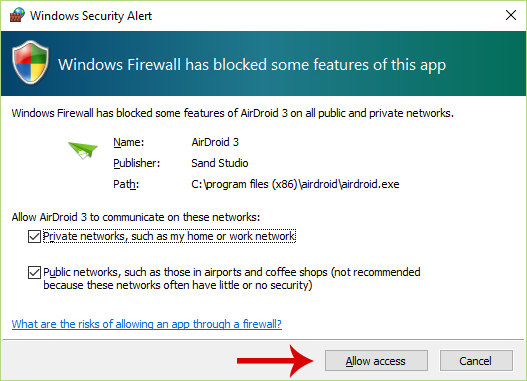
You’ll probably get a message from Windows Firewall asking you whether AirDroid should be allowed to connect to the internet or not, so allow it.
As you can see, this application has a completely different interface than the browser’s web app.
In here you will find the most basic features, such as send SMS messages, make calls, and send files on the device. Apart from these actions, however, the basic function of the application is that it allows an automatic image backups, under the Backup tab.
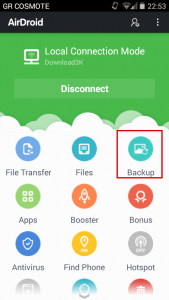
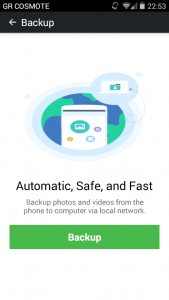
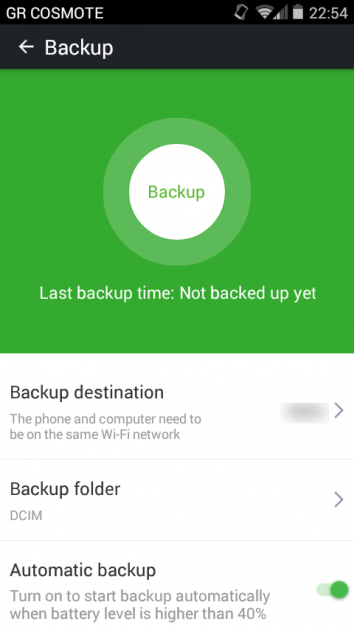
However, this feature must first be enabled from the AirDroid app on the device.
After you’ve enabled it, you should have the AirDroid app open on the computer and connected to the device.
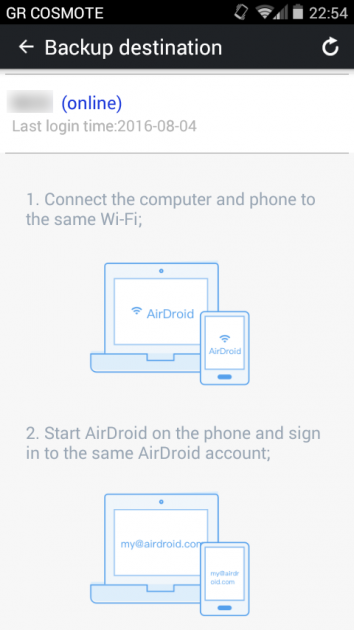
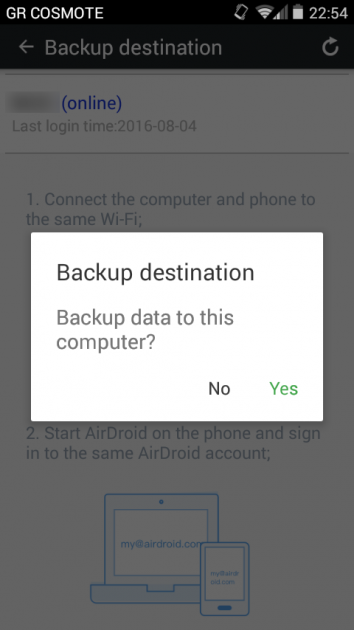
Then, from the AirDroid app on the device, select the computer as a destination for the backups.
You will see some settings that you can configure, before proceeding with the backup.
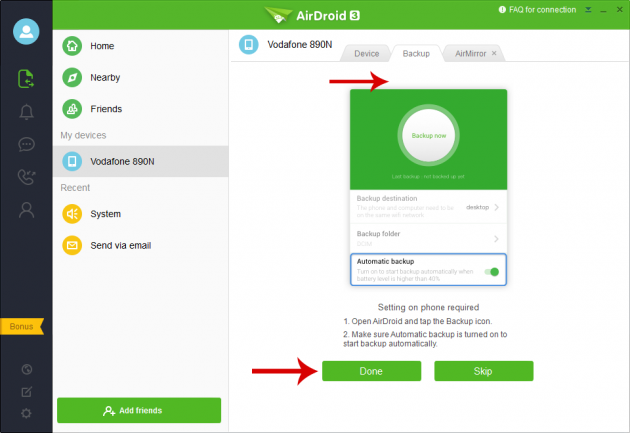
Now, on the computer app, navigate to the Backup tab, click on Backup and in the next screen click Done.
If everything is correct, you have the option to perform your first backup.
Note that these backups are for your photos only- videos, music, or anything else in the device is not included.
In general, given the usefulness of AirDroid’s web app for managing the device, the Windows app is rather disappointed.
Differences with AirDroid Premium
All of the above features are available to users for free, and have no limitations if the smartphone or tablet is connected to the same network as the computer.
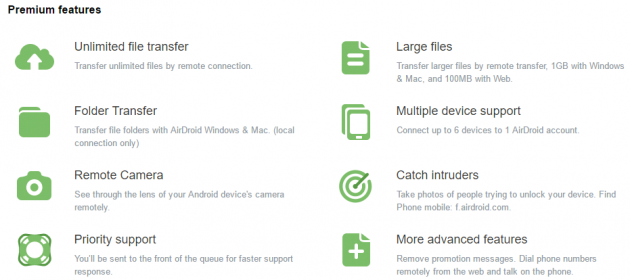
If the device is in another network however, there are some limitations. These limitations do not exist in Premium accounts- you can see those exclusive premium features in the image below:
You can view the pricing options and become a premium user by visiting this page.
All in all, AirDroid is one of the best apps for managing your Android device from the comfort of your computer, without even having to connect it with a USB cable. It might need a few configurations at first, but its functionality is quite remarkable.
Let us know your thoughts, suggestions and problems in the comments section below!

