How to Enable or Disable the Hidden Administrator Account in Windows 8 or 10
It is useful in Windows to be able to turn on the Administrator account in order to more easily access system controls that are hidden from lower access users in the operating system.
Previously in Windows versions based on NT architecture there was always an Administrator user account, but since the release of Windows XP, Microsoft chose to disable it by default. Furthermore, in Windows 8, 7 and Vista when an Admin-level account was added it still required UAC elevation.
In more recent versions of Windows the default Administrator account is both hidden and disabled. The except to this rule is when booting via Safe Mode in order to resolve an issue with Windows in which case the Administrator account will appear at the login screen to aid the user.
It is possible to unhide and enable the hidden Administrator account so it is always there for you should you need it without the need to reboot into Safe Mode to do so.
Here is how to enable the Administrator account for Windows 8 or 10
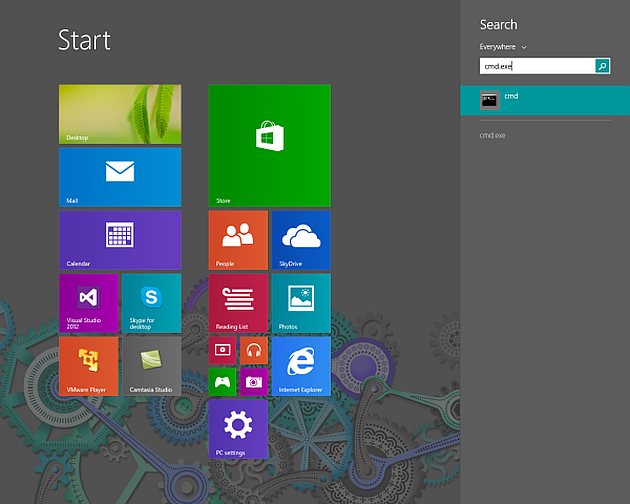
Open an elevated command prompt. A quick way to do this is by pressing Ctrl+X and choosing Command Prompt (Admin). Here are more ways to open one.
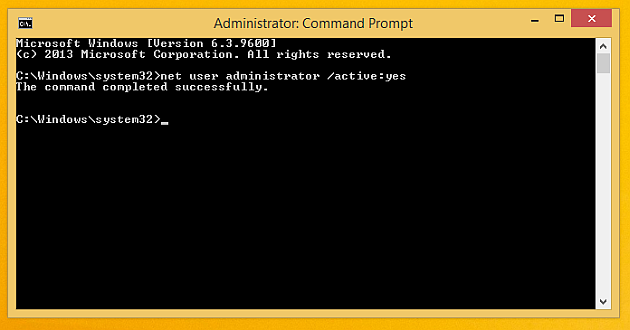
Type this command shown below exactly into the security elevated Command prompt:
net user administrator /active:yes
Now close the elevated command prompt and sign out of the user account that is in use. You will now see an Administrator account displayed on the login screen of Windows 8 or 10.
How to disable the Administrator account
Open an elevated command prompt. A quick way to do this is by pressing Ctrl+X and choosing Command Prompt (Admin).
Type the command shown below in the elevated command prompt:
net user administrator /active:no
Close the elevated command prompt window.
The Administrator account is now disabled once again and will not display in the login screen when next logging out or booting up to Windows again.


