How to Enable Mouse Without a Mouse in Windows 10
So you're experiencing a problem that plenty of other PC users have had in the past. For whatever reason your laptop's built-in touchpad mouse isn't enabled and you don't have an external mouse, so now your computer is pretty much useless because you can't use the mouse. Maybe you turned it off while using an external mouse, or maybe you accidentally disabled it. Sometimes a glitch or software update can disable the mouse as well.
Without another mouse, you now face the dilemma of having to enable the mouse without being able to use a mouse to navigate to the Mouse settings dialog in Windows. Fortunately, there 's a quick way to solve this problem using nothing more than your keyboard. Follow these steps and you'll be good to go:
1. If you're stuck at the login screen, start by pressing the spacebar to bring up the password box. Type your password and press Enter:
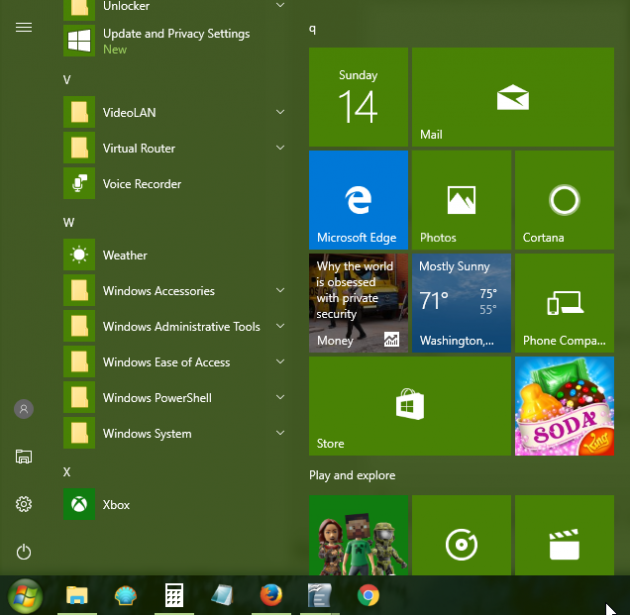
2. Now that you're in Windows, press the 'Windows' key to bring up the Start Menu. (Note: It's the key with four boxes to the left of the Alt key on the left side of the keyboard):
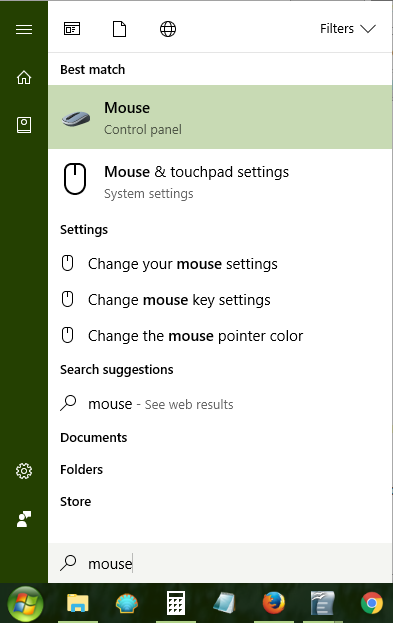
3. Even if you don't see a cursor or search box anywhere, just type "Mouse" and wait for this box to appear:
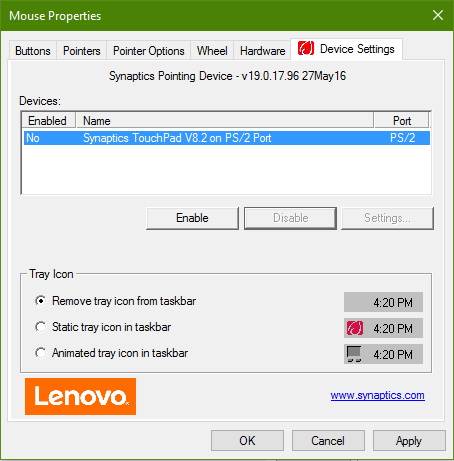
4. Now make sure the "Mouse| Control Panel" option is highlighted. If it's not, you can use your keyboard's arrow keys to highlight it. Once it is highlighted, press Enter. The Mouse Properties window should appear:
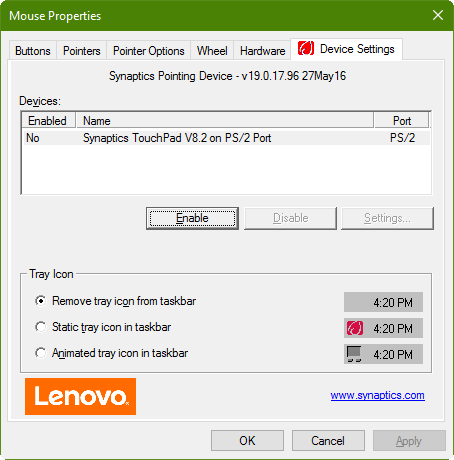
5. Press the 'Tab' key until the 'Enable' button is highlighted by dotted lines (you should only have to press Tab once on most computers) and then press the 'Enter' key:
Congratulations! Your built-in touchpad mouse should now be enabled and usable!

